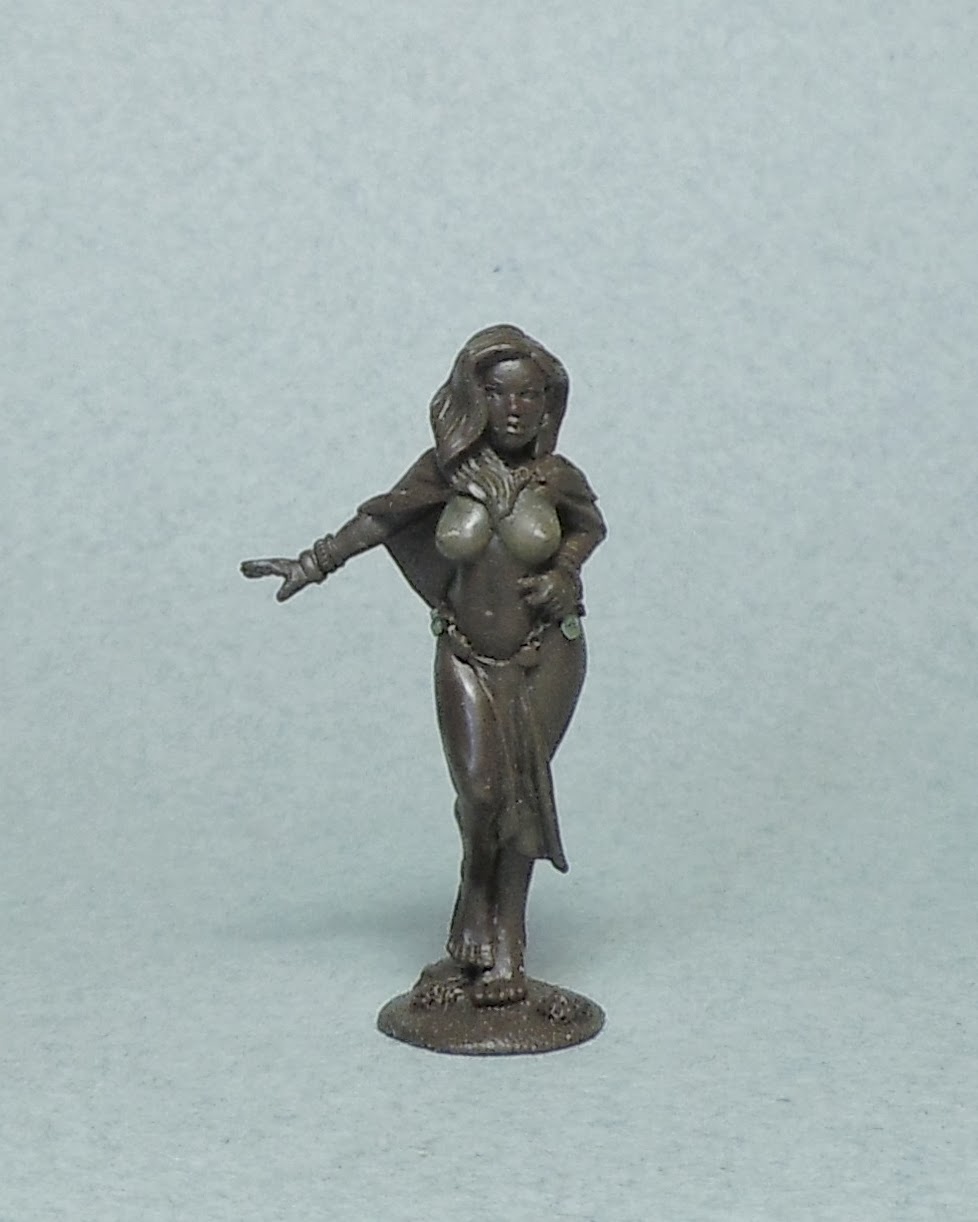
Wednesday, September 6, 2017

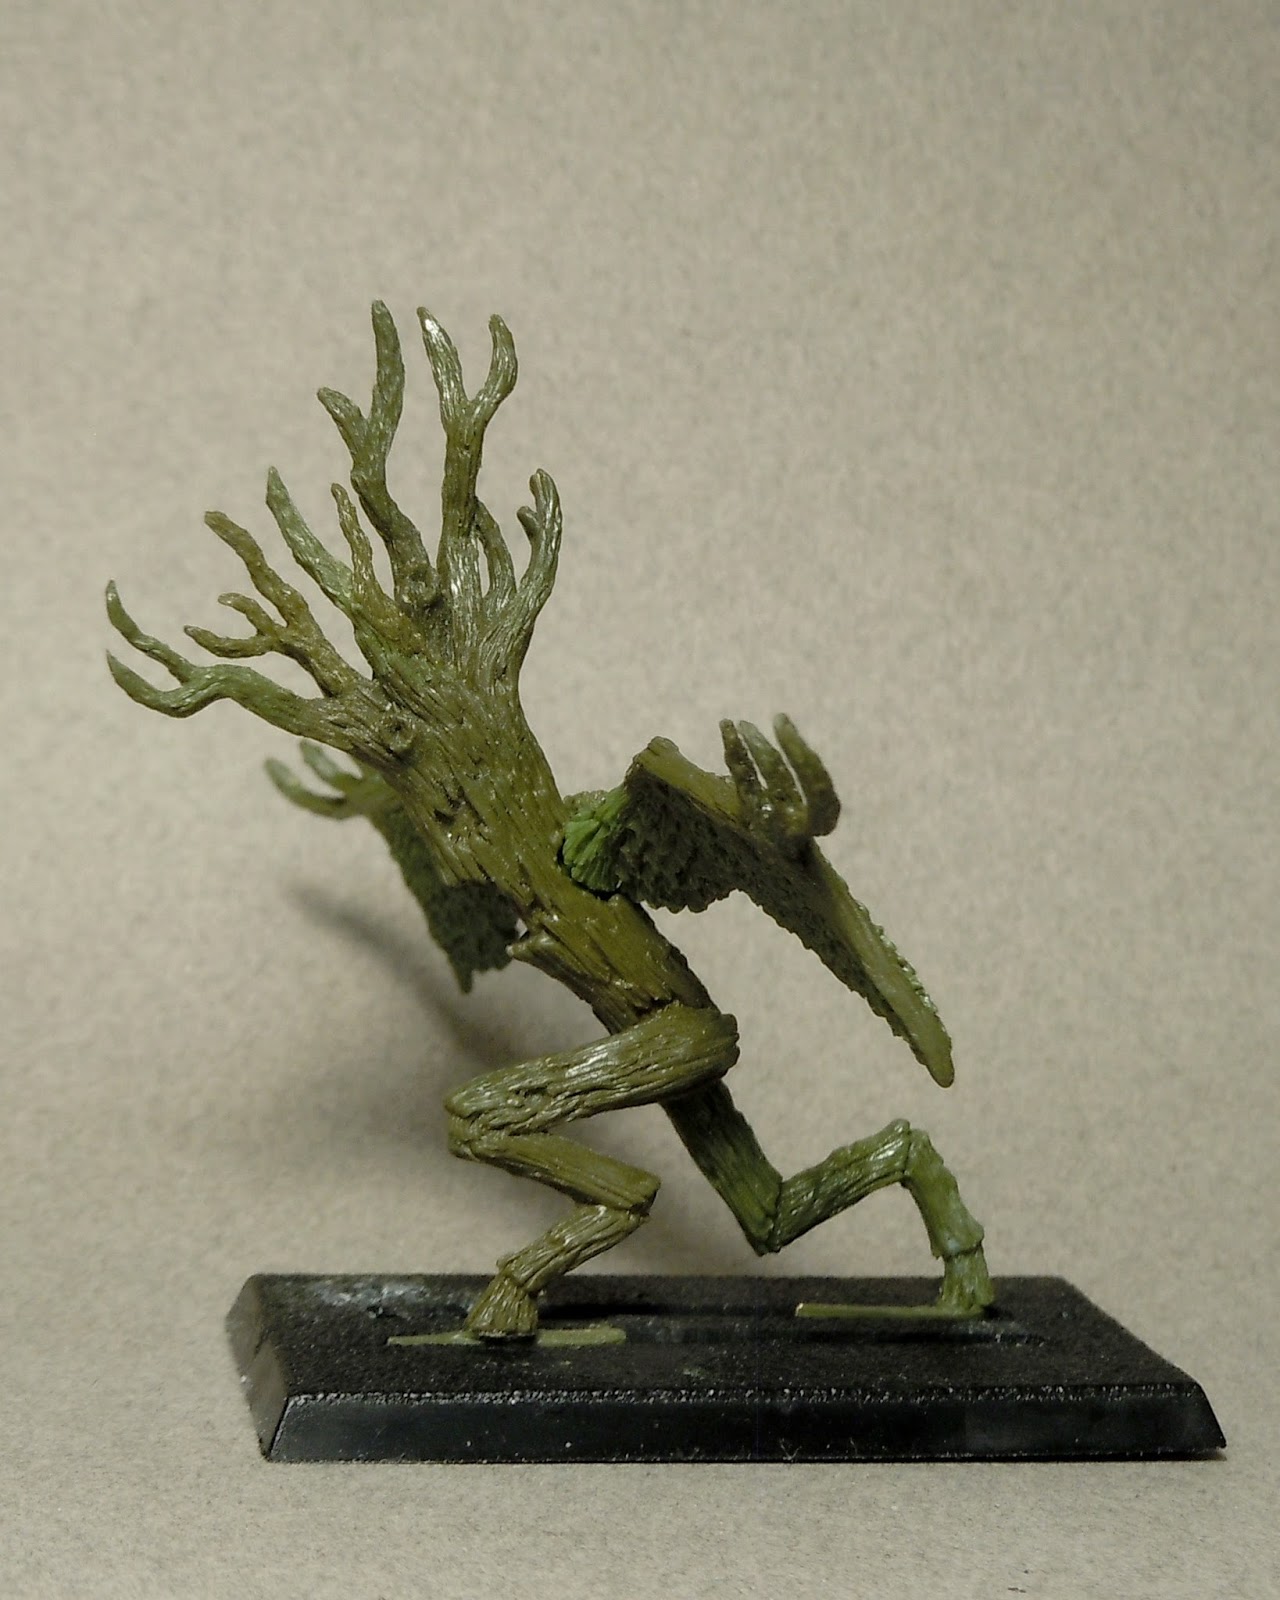
Here are some pics of a sort of tree monster that will be available from Iron Wind Metals sometime in the near future.
There are also more branches that will come on a sprue that can be glued on to it in various locations.


Thursday, June 22, 2017

A WIP of another female with a spear.


Wednesday, October 26, 2016


I just received these photos of some Gargant sculpts that are no longer in my possession.
They are about 22 years old and are part of what led to me getting my first professional sculpting work from Ral Partha.
I used Super Sculpey, toothpicks, plastic card, some tubing, and other bits to make them.
The Gargants and banners are still as I painted them.
I even made the bases.
The dustiness is a bit unfortunate and beyond my control.

Tuesday, August 23, 2016


An assassin conversion.
Coming soon from TinMan.


Green Man Preview


I have swapped the armor on the two Green Martian bodies to make new poses. I'm thinking that there should be some new arms as well.
Coming soon from TinMan.

Saturday, July 2, 2016


This is the musician for the Legion of Red Devastation from the Tekumel universe.

Tuesday, May 10, 2016


A standard bearer from the Legion of the Lord of Red Devastation from the Tekumel universe.

Monday, March 14, 2016


 Figs that I painted from Space Hulk.

Tuesday, February 16, 2016

Tuesday, February 2, 2016

Here's a Tin Man figure that I recently painted.
(I didn't notice how badly the sword hand was attached until I took the photo.)


Thursday, January 28, 2016

Thursday, January 7, 2016

This is a Tekumel figure that I recently completed. The client has OK'd the posting of these pictures. If other clients will make similar allowances, I will post photos of those projects as well.


Tuesday, June 23, 2015

Something Stupid From The Past

I've been working on some freelance projects that I can't show here (at least not yet), so here's a little something from long ago.
This is perhaps the most quickly sculpted figure that I have ever made. It's also one of the earliest as it is from around 1997. I think it took about an hour and a half (and it shows).
Zombie survival games?


Monday, May 25, 2015

Color Test and Modeling Tip

I was testing the color balance with my camera and new gray background and used this Mumak I painted to do it.
Although I need to get more lights to get better pictures (depth of field, even lighting, shadow elimination, etc.), the color looks pretty accurate from where I sit.

The modeling tip is in how I based the riders.
As well as carving the tabs that connected their feet into mounting pegs (Sorry, there are no pictures of the process.), I made a press mold of the flooring of the top tier of the howdah.
When the press mold was cured, I took some of GW's non-slotted 25mm bases and, one by one, laid a thin sheet of greenstuff epoxy putty over their surfaces and pressed the wicker texture into the putty. Excess putty was trimmed away with a hobby knife.
The press mold had an area about four times that of a regular base so I was able to get a lot of variance in the resulting floor patterns.
While the putty on the bases was still uncured, I took the figures and pressed their mounting pegs into the soft putty to mark where the bases would need to be drilled out.
The final steps were painting and mounting the figures.


Monday, May 18, 2015

Customizing Vehicle Doors And Hatches

After being prodded by a friend to make it so that the doors of some of his vehicles would have working hinges where they hadn't before, I gave it a try.
One success led to being asked to do it again on another vehicle.
Very quickly I realized that my time was far too valuable to waste on making them from scratch for each vehicle, so I made these hinge pins as a short-cut. (They are available here.)
The photos below will show a step by step guide to how I used them on one of Games Workshop's Space Marine Rhinos.


The tools I used are shown above.
They are a pin vise (Two, in this case) with drills sized .022 in. and .035 in., wire clippers, hobby knife, and a sharp center punch (This one I made from a steel wire with a pyramid shaped tip ground onto it.)


The pin with the larger head was right for this job and the first thing I did was drill it through with a .035 bit. I left it on the sprue for easier handling.
I drilled in about halfway from one side then finished drilling from the other side. This kept burrs from forming when the drill exited the hole.


Using the point of a hobby knife, I removed part of the integral hinge on the upper hatch door. I made light cuts at different angles to cut out small wedges of material to avoid breaking the hinge.


In this case, I had to cut into the edge of the door at an angle so that enough material would be removed to accommodate the cylinder of the pin. The cylinder of the pin needed to be flush with the cylinder of the hinge on the door or it would not work properly.


Once enough material was removed from the door, I placed the door in its proper position on the model and used my center-punch tool to mark where I had to drill.
This will need to be done before you permanently insert the pins into the door hinge.
A thumbtack or something similar would have worked just as well as a center-punch.


I then drilled out the hinge on the door with a .022 bit. I went all the way through the outer part but did not drill all the way through the inner part. The slightly over-sized holes will allow the hinges to move without stressing the plastic too much.


I used .020 brass rod for the connecting pin that holds the two parts of the hinge together.


 After clipping the wire to size, I applied a small droplet of CA glue to the outside of the hinge where the brass connector pin was inserted. I wiggled the hinge pin to ensure that it did not get glued in place.
Then the burr of the brass rod was filed down flush with the outer part of the hinge.


The body was drilled in the spots marked by the center-punch with a .035 drill and the narrow ends of the hinge pins were inserted in the resultant holes and glued from below. This would have been easier if the model had not been pre-assembled (I received it that way). 
Before inserting them, the hinge pins needed to be trimmed by about one millimeter or they would protrude into the interior of the vehicle.
It's a good idea to make sure both doors fit well before gluing them in place.
 
The same techniques were used to attach the side doors to the vehicle but it required the use of the smaller hinge pins.
Getting Back In The Groove

It's been a very long time since my last post. Sorry about that. 
There were a great number of things taking up my time, and whenever it crossed my mind to post something here, there were always other matters taking precedence.
I'm free to get back to sculpting freelance and, as I am able, I will post WIP photos of those professional pieces as well as personal works.

Saturday, January 11, 2014


WIP of Empress Xanith for Tin Man's Kickstarter.

Wednesday, December 4, 2013

Here is the art for the $12,000 stretch goal figure in the Tin Man Miniatures' Kickstarter.

Monday, November 25, 2013

Here are some photos of the (A) version of the Princess Eriel figure that will be offered as an Add-On on the TIn Man Kickstarter http://www.kickstarter.com/projects/1331568821/lost-worlds-princesses-and-more-mars-barsoom